

Installing a sectional water tank is a crucial step in ensuring a reliable and efficient water supply for your facility. Whether for potable water, fire suppression, or industrial use, a properly installed tank guarantees longevity, operational efficiency, and compliance with regulations.
At Titan Mechanical Services, we’ve installed countless sectional water tanks across various industries, ensuring clients get a tailored, high-performance solution that meets their needs. This guide will walk you through the step-by-step installation process, key considerations, and best practices to ensure a safe and efficient installation.
Why Choose a Sectional Water Tank?
Sectional water tanks are made up of modular panels, allowing for custom sizing and easy transport, even to tight or inaccessible locations. Common materials include:
GRP (Glass Reinforced Plastic) – Corrosion-resistant, lightweight, and ideal for potable water storage.
Galvanised or Stainless Steel – Robust and suitable for high-pressure applications.
Plastic – Suitable for small tanks that do not have large storage requirements.
Because they are assembled on-site, sectional tanks are a great choice for facilities where pre-assembled tanks wouldn’t fit due to space constraints.
Step 1: Preparing for Installation
Assess Your Facility’s Water Needs
Before choosing a tank, determine:
Daily water demand – How much storage capacity do you need?
Peak usage times – Will your facility experience high demand periods?
Future expansion – Will your water requirements increase over time?
Example: One of our clients, a large manufacturing plant, underestimated future water usage, leading to costly retrofits. So, we always recommend considering potential growth before selecting a tank size!
Choosing the Right Location
Picking the right spot is essential for long-term performance. Make sure:
The ground is level and stable to support the weight of a full tank.
The tank is accessible for maintenance and inspections.
The location is clear of obstructions like overhanging branches, pipework or nearby buildings.
Pro tip: A concrete base is the best foundation, providing long-term stability. But if building a concrete base is not viable for cost or logistical reasons, then base levelling steels are the next best option.
Assessing Water Needs During the Installation
It’s important to appraise whether or not measures need to be taken to maintain supply during the project. Assess:
How long the project will take, so you have a clear understanding as to how long you will be without water.
Which systems will lose supply during the work, and whether the building can continue operating without those systems.
If a continuous supply is needed, then assess whether a temporary bypass or temporary tank can be installed prior to the commencement of the project, to ensure interruption is kept to a minimum.
Step 2: Installation Process
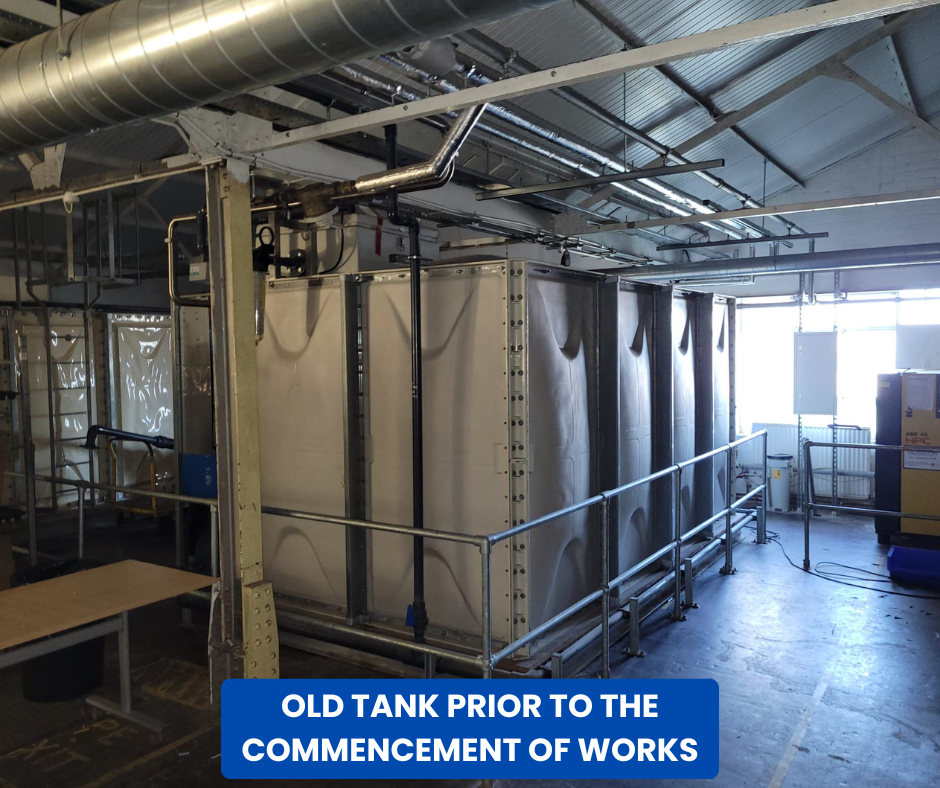
In this example, we show the full process of replacing a leaking sectional GRP tank with new;
Decommissioning and removal of the old tank
Temporary Bypass – In this project, a temporary bypass was installed by the client before the works commenced. Ensuring a continuous supply was maintained whilst the works were undertaken.
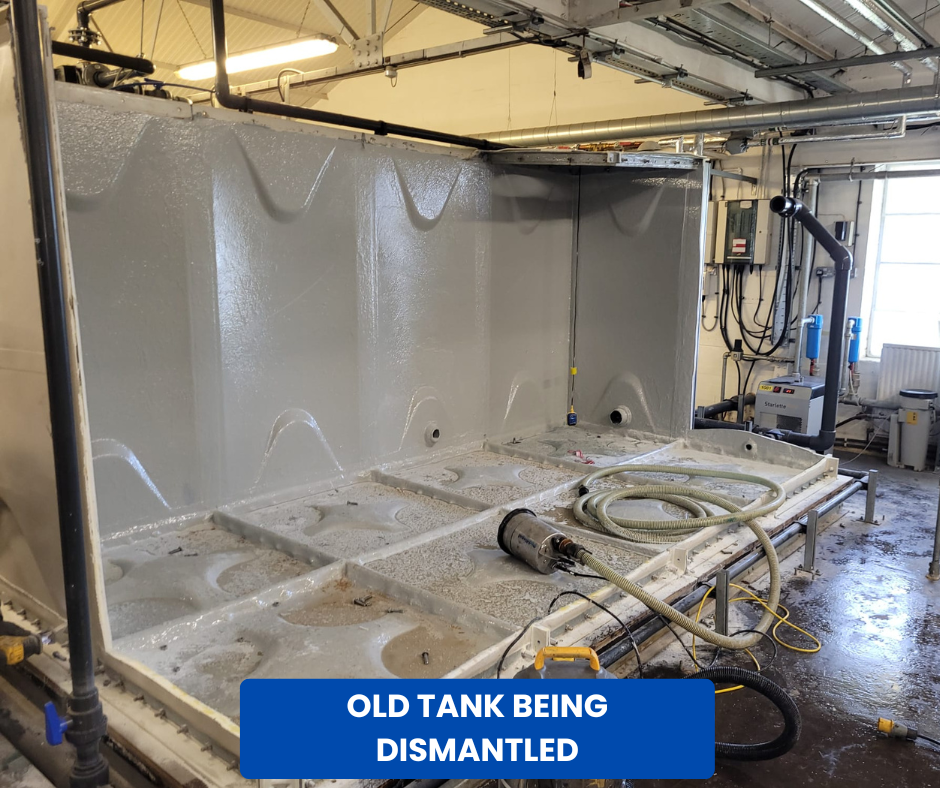
Dismantling of the tank - The tank was then dismantled, one panel at a time, and the old sections removed from site to a be disposed of.
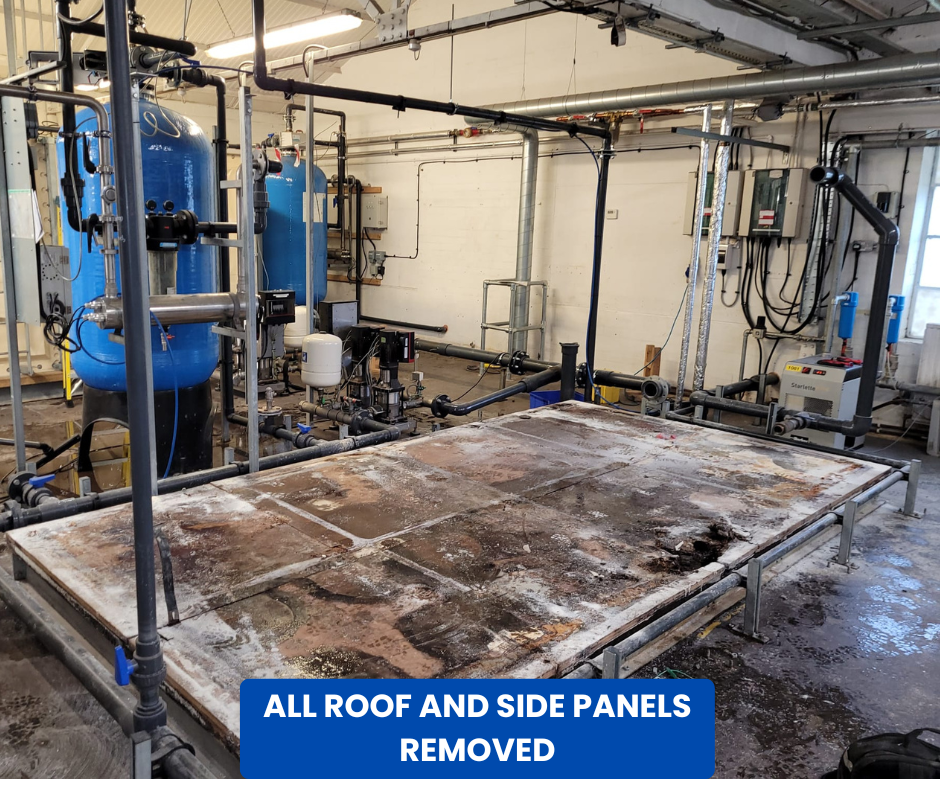
Removal of old base – If a previous tank was installed (as in this case), then make sure all unsuitable elements are stripped back and removed, leaving a solid foundation for the new base to be installed upon.

Laying the Foundation
Concrete Base – A solid concrete base was already in place on this project. If you are installing a new slab for a project, then ensure it is at least 300mm larger than the tank’s footprint.
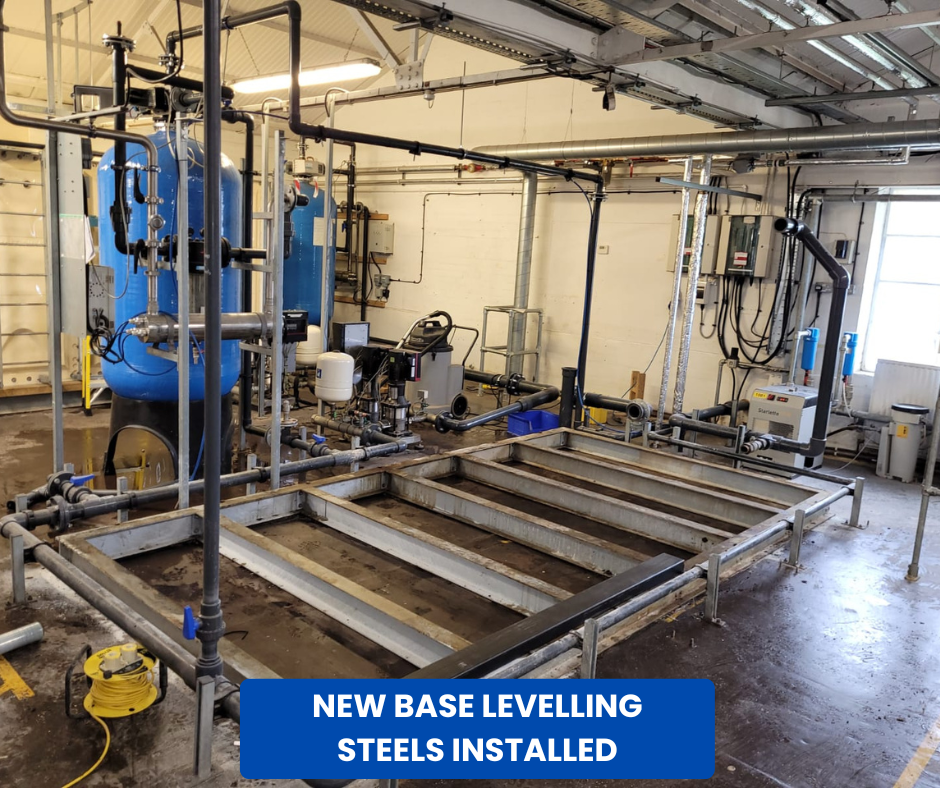
Base levelling steels – Installed to ensure the tank is erected on a flat base, to maintain structural integrity.
Panel Assembly
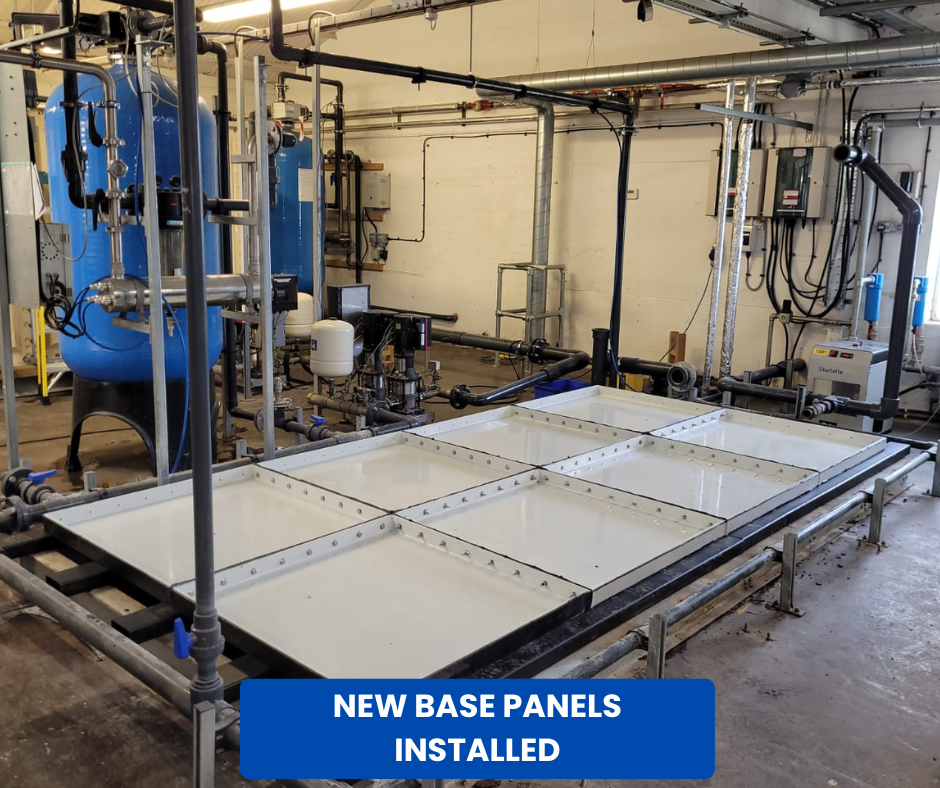
1. Lay Down the Base Panels – Start with the bottom layer, ensuring each panel is level.
2. Attach the Side Panels – Bolt panels together using rubber gaskets to create watertight seals.
3. Install Internal Supports – Large tanks require steel bracing rods to maintain shape.
4. Fix Roof Panels – Protects water quality and prevents debris from entering.
Efficiency Tip: Pre-check all seals before final tightening to prevent future leaks.


Step 3: Plumbing & Testing
Connecting the Pipework
Inlet & Outlet Pipes – Ensure all joints are fitted with flanges and gaskets to prevent leaks.
Overflow & Drainage – Proper drainage is essential for safety and regulatory compliance.

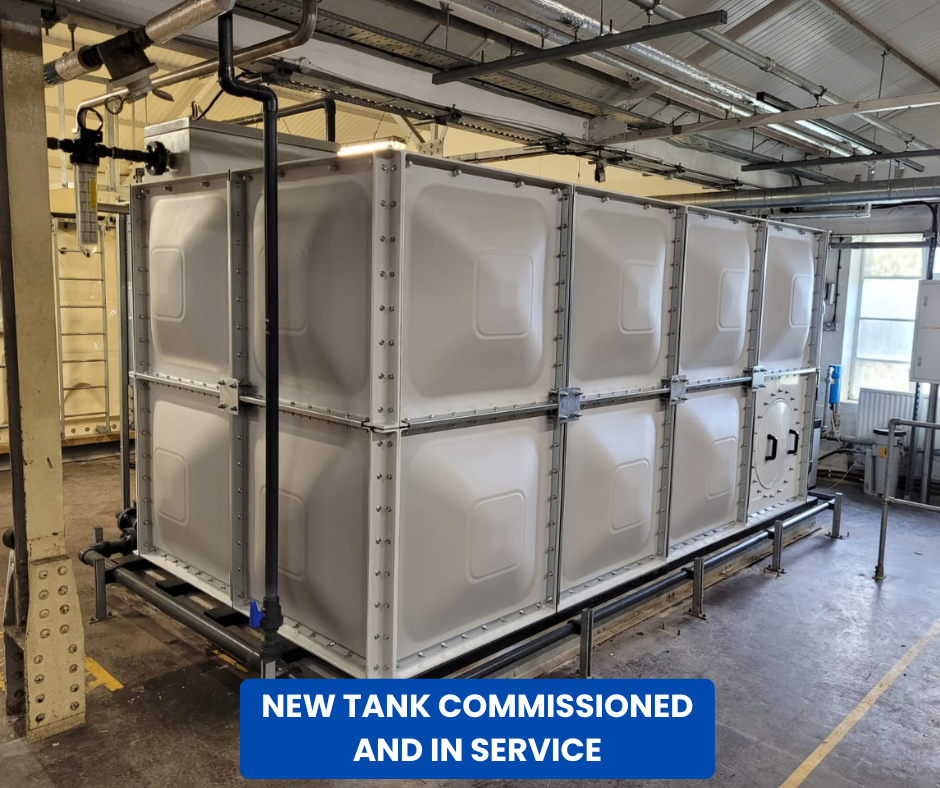
Testing & Commissioning
Leak Test: Fill the tank incrementally and inspect all joints.
Pressure Test: Ensure the tank holds up under full operating conditions.
System Commissioning: Thoroughly clean and disinfect your tank and refill with fresh water before removing the bypass and integrating the new supply into your system.
Ongoing Maintenance & Compliance
To keep your sectional water tank in top condition:
Schedule quarterly inspections for leaks, corrosion, and microbial growth.
Implement a cleaning routine to prevent sediment buildup.
Follow regulatory guidelines for potable or industrial water storage.
At Titan Mechanical Services, we provide ongoing support for our clients, ensuring their tanks stay compliant and operational for years to come.
Why Choose Titan Mechanical Services?
We’ve helped hundreds of businesses install long-lasting, efficient water storage solutions. Recently, we worked with a food processing plant that needed a custom GRP sectional tank installed within a tight timeframe. By optimising the installation process and coordinating with other contractors, we delivered a seamless solution—on time and within budget.
Need Expert Help?
For a reliable, fully compliant sectional water tank installation, trust Titan Mechanical Services. Contact us today to discuss your project requirements and get a tailored solution that meets your facility’s needs.
Call us now at 01704 335800 or Email us at hellotitan@titanmechanical.co.uk
Comments